
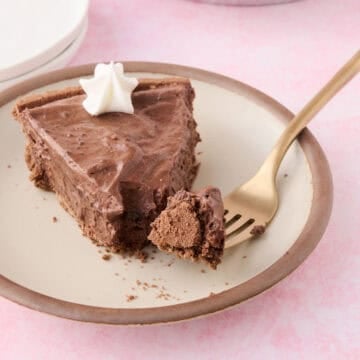
I've made this no bake chocolate pie more times than I can count, especially in the summer when the last thing I want to do is turn on my oven. After testing it with different pudding brands and whipped topping ratios, I landed on this simple version that comes together in about 10 minutes and sets up perfectly every single time! It's proof that you don't need a long ingredient list or a fancy technique to make a chocolate pie that disappears fast!
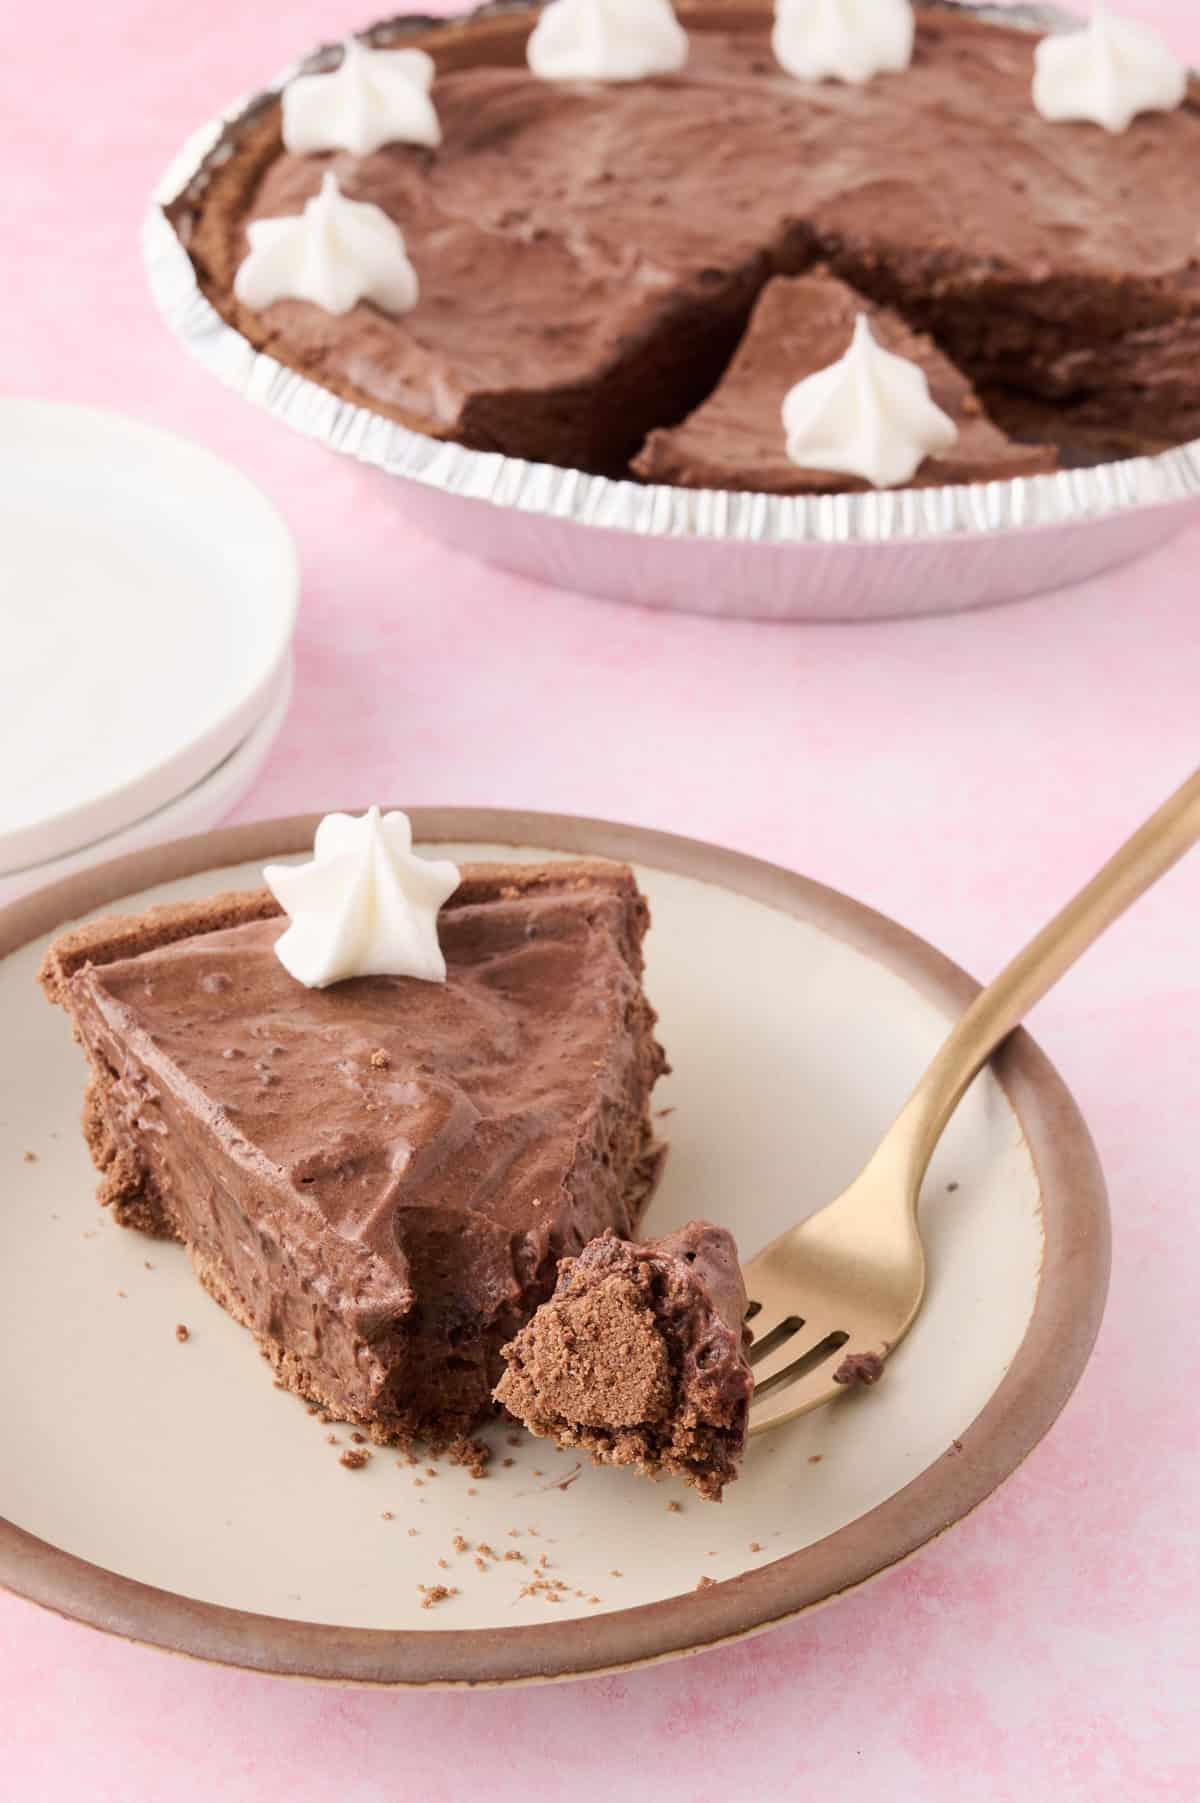
As a chocoholic, I absolutely love this recipe because it takes almost no effort and still tastes like something I spent way more time on. There's no cooking on the stove, no worrying about curdled eggs or a grainy filling, just a quick whisk and a few hours in the fridge. It's the kind of dessert I can throw together while dinner is in the oven or right before guests show up, and nobody ever guesses how easy it actually was.
It's also a great recipe because it's so easy to make your own. Swap the crust, add a sprinkle of crushed cookies on top, or use a flavored pudding mix for a twist. Whether you're making it for a potluck, a birthday, or just because you're craving chocolate, this pie holds up in the fridge for days and always gets requested again!
Jump to:
Why This No Bake Chocolate Pie Works
- Only 4 ingredients. A chocolate cookie crust, instant pudding mix, cold milk, and whipped topping are all you need.
- No oven required. This is the perfect dessert for hot days or whenever you don't want to heat up the kitchen. It's great for holidays too when oven space is at a premium!
- Ready in minutes. The filling comes together in about 5 minutes of mixing, then the fridge does the rest of the work.
- Make-ahead friendly. You can make this pie a day or two in advance, which makes it great for holidays and parties.
- Kid-friendly recipe. This is an easy one to let kids help with since there's no stove or oven involved.
Ingredients to Make No Bake Chocolate Pie
- Chocolate cookie crust - a store-bought crust keeps this recipe quick, but you can make your own if you prefer.
- Chocolate instant pudding mix - stick with instant pudding, not the cook-and-serve kind, so the filling sets properly without any heat.
- Cold milk - cold milk helps the pudding thicken quickly and get that perfect creamy texture. Nondairy milk usually does not work in pudding mixes. You'll need a whole milk or a 2% milk in this recipe.
- Whipped topping - this lightens up the pudding and gives the filling that soft, fluffy texture that makes this pie so easy to eat. If you prefer, you can make your own homemade whipped cream and use that instead.
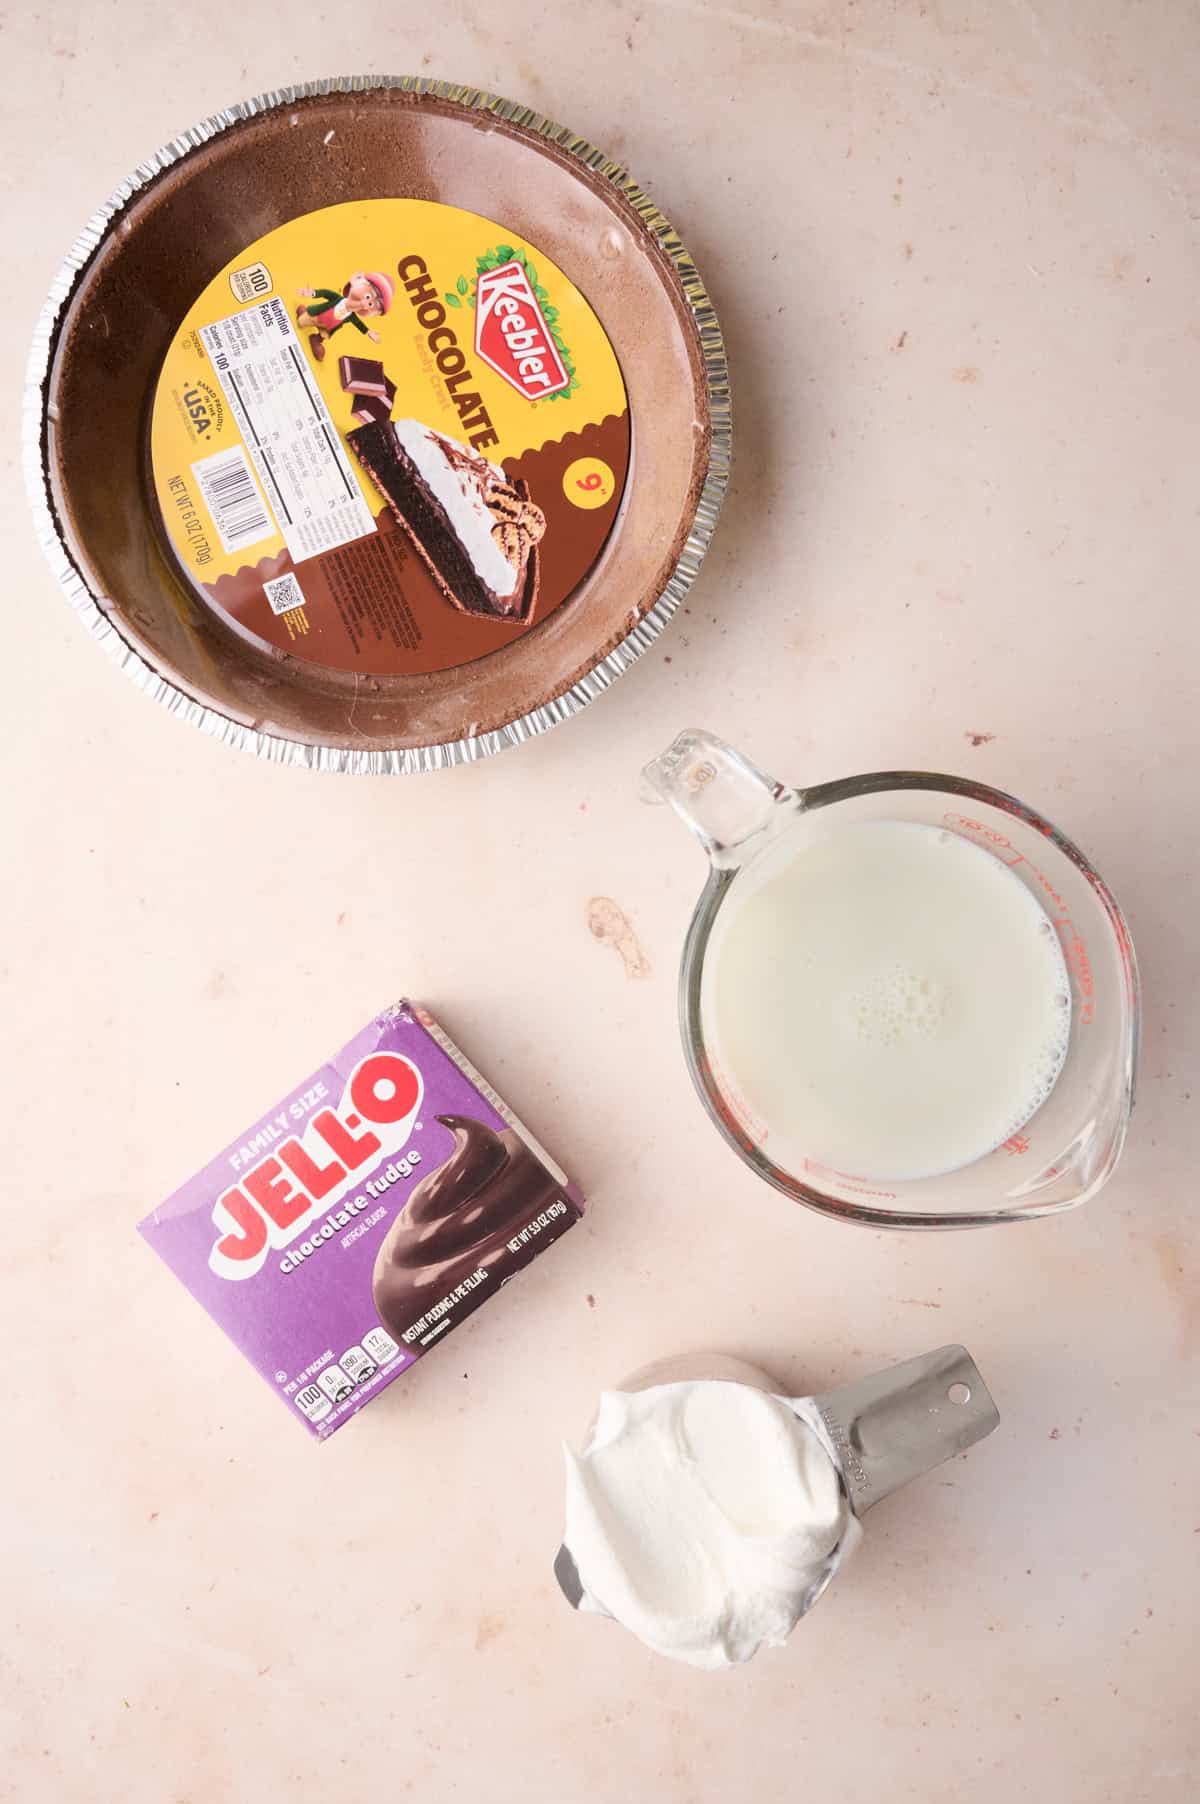
Be sure to check out the printable recipe card for full recipe information on ingredients and quantities.
Substitutions and Variations
- Change up the pudding flavor. Swap the chocolate pudding for white chocolate, banana cream, or even peanut butter pudding mix for a completely different pie. I always have some pudding in my pantry so I can whip up this recipe or a really easy banana pudding recipe!
- Make it a mint chocolate pie. Add a few drops of peppermint extract to the pudding mixture and top with crushed chocolate mint cookies. If you love mint, you've got to try a mint chocolate chip milkshake!
- Try a different crust. A graham cracker crust, Oreo crust, or even a pretzel crust all work well in place of a chocolate cookie crust.
- Add a peanut butter layer. Spread a thin layer of softened peanut butter on the bottom of the crust before adding the filling for a chocolate peanut butter version. I love making a no bake peanut butter pie!
- Make it dairy free. Use a non-dairy milk and a dairy free whipped topping if you need this pie to be dairy free, just double check that your pudding mix is dairy free as well and you can use non dairy milk with it.
- Top it your way. Try crushed cookies, mini chocolate chips, chocolate shavings, or a drizzle of chocolate syrup over the top before serving.
- Turn it into individual servings. Layer the filling into small cups or jars with crushed cookies for an easy no bake dessert that's ready to grab and go.
How To Make Chocolate Pie
Step 1
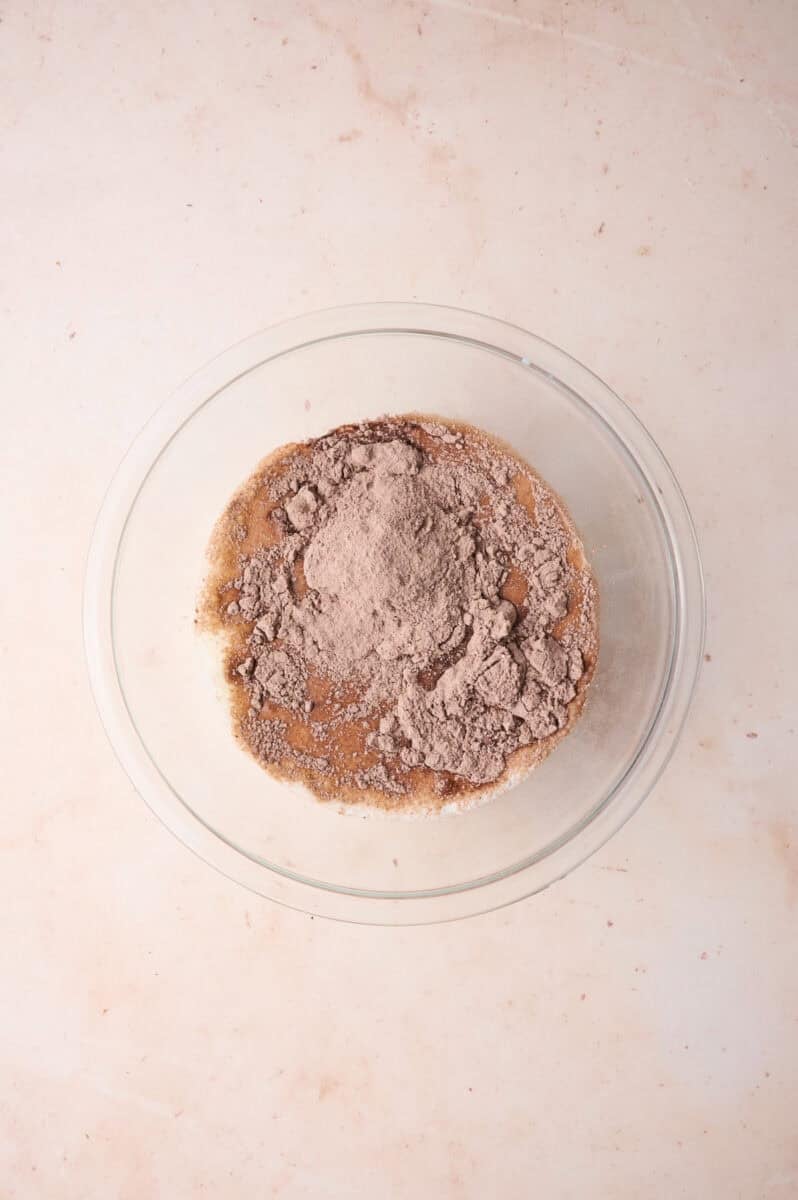
Whisk the pudding. Add the pudding mix and cold milk to a bowl and whisk until thickened, about 2 minutes.
Step 2
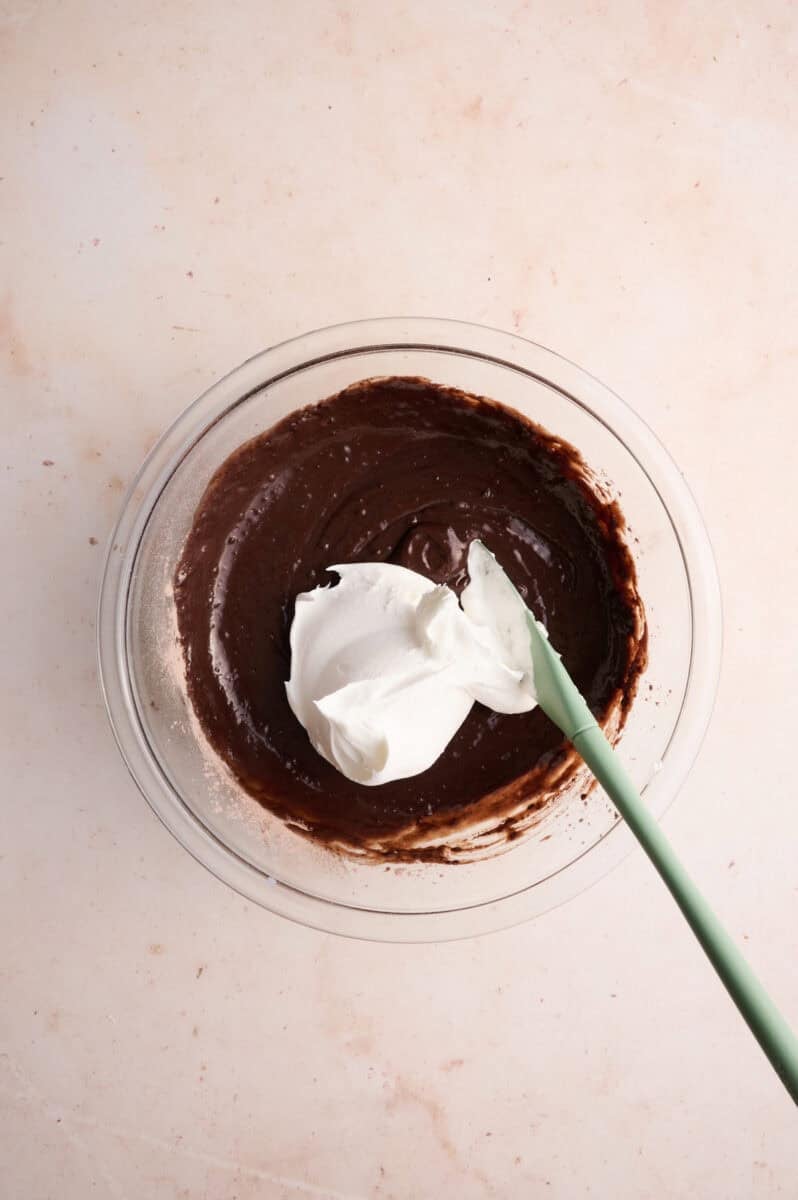
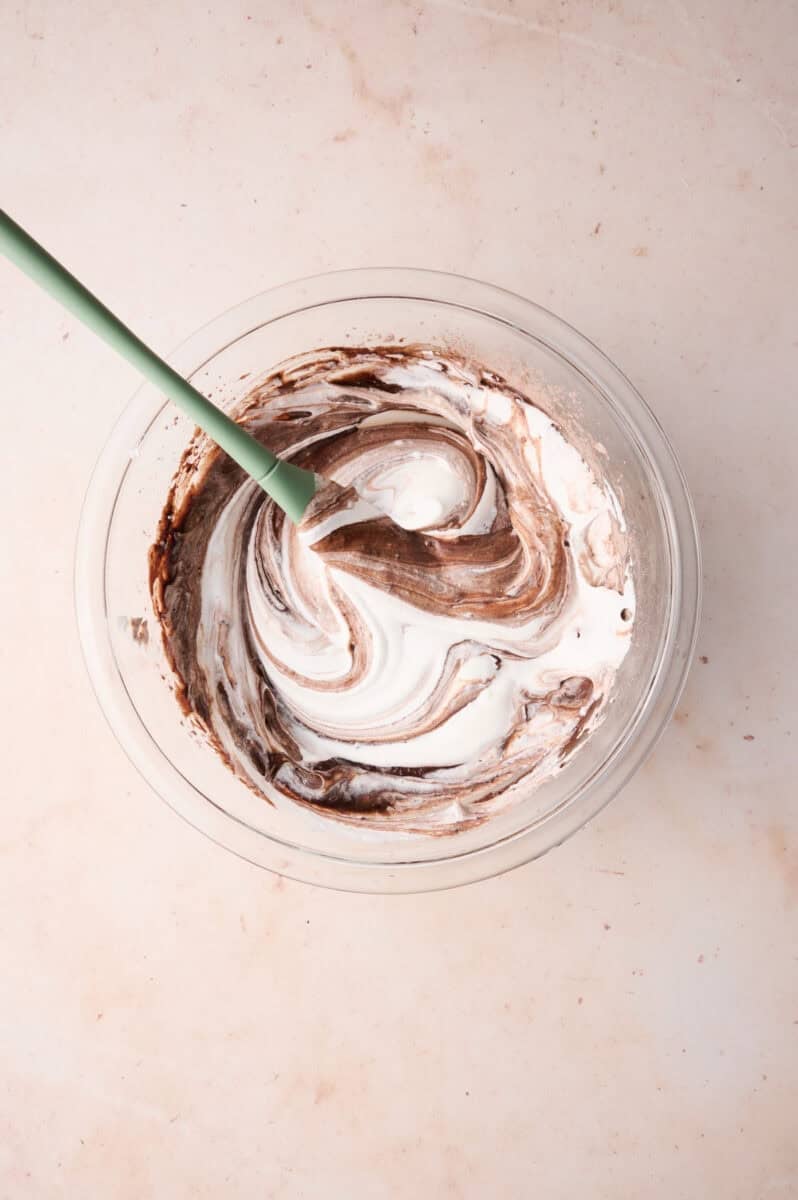
Fold in the whipped topping. Gently fold the whipped topping into the pudding mixture until smooth and fluffy. Don't overmix or you'll lose some of that light texture.
Step 3
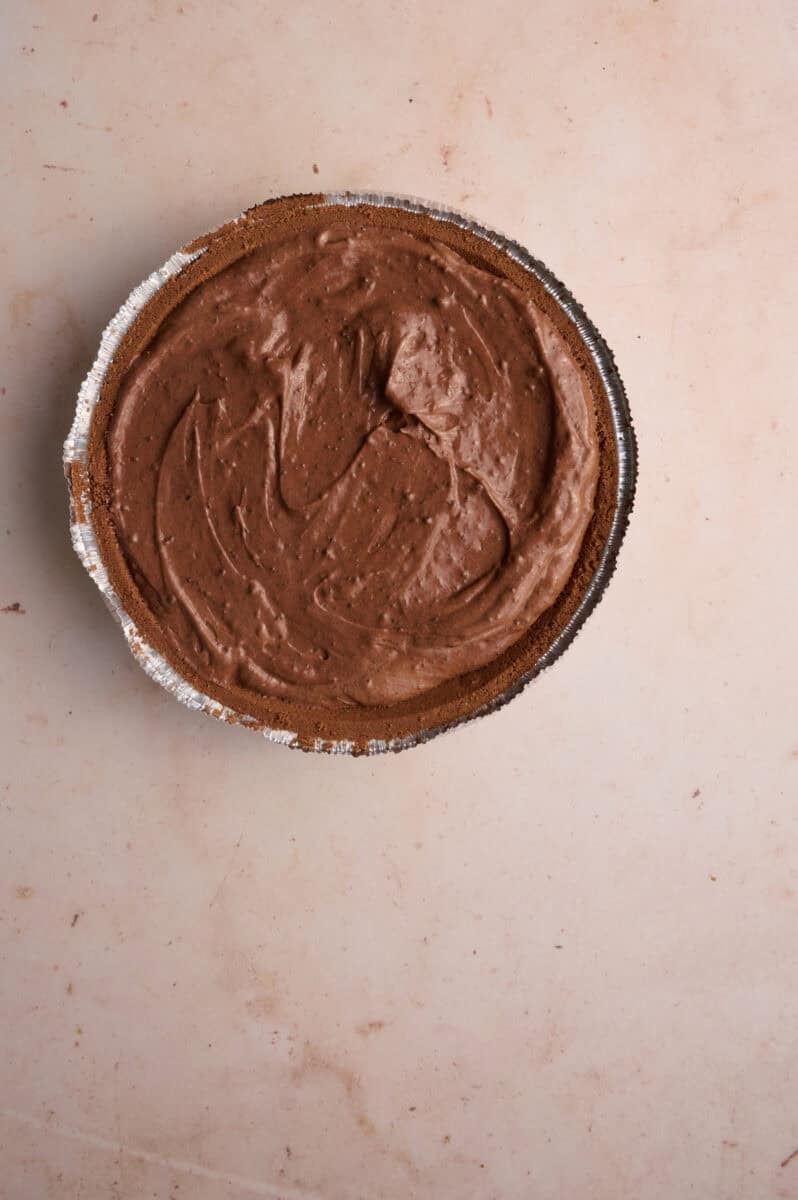
Fill the crust. Spoon the mixture into the chocolate cookie crust and smooth the top with a spatula.
Step 4
Chill. Refrigerate the pie for at least 3 hours before serving so it has time to set.
Tips and Tricks
- Use cold milk straight from the fridge. Warm milk will slow down how quickly the pudding thickens.
- Don't rush the whisking step. Give it the full 2 minutes so the pudding sets up thick before you add the whipped topping.
- Fold, don't stir, when adding the whipped topping. This keeps the filling light instead of dense.
- Chill longer if you have time. A full 4 hours in the fridge makes for the cleanest slices.
- Add a layer of crushed cookies or mini chocolate chips on top before chilling for extra crunch.
How to Store a No Bake Chocolate Pudding Pie
This pie keeps well in the refrigerator, covered, for up to 4 days. I don't recommend freezing it since the texture of the pudding and whipped topping can change once thawed.
If you make this no bake chocolate pie, I'd love to hear how it turned out! Leave a comment below and let me know what you topped yours with.
Frequently Asked Questions
Yes, homemade whipped cream works in this recipe, though it will give you a slightly less firm set than whipped topping, so I recommend chilling the pie a little longer if you go that route.
A runny filling usually means the milk wasn't cold enough or the pudding wasn't whisked long enough before adding the whipped topping, so make sure to whisk until it's noticeably thick before moving on.
Absolutely, a graham cracker crust or a homemade cookie crust both work well in place of a store-bought chocolate cookie crust.


No Bake Chocolate Pie
Equipment
- Mixing Bowls
- Measuring Cups
- Liquid measuring cups
Ingredients
- 1 Chocolate Cookie Crust Store bought or homemade
- 1 box Instant chocolate pudding mix 5.9 oz box
- 1 ½ cups Milk Very cold
- 1 cup Whipped topping
Instructions
- Whisk pudding mix and milk until thickened.
- Fold in whipped topping until smooth and fluffy.
- Spoon mixture into crust and smooth the top. Chill at least 3 hours before serving.
Notes
- Plant based milks will not work in this recipe. You will need to get a specific pudding mix that says it will work for nondairy milk. Most pudding mix need dairy milk to set properly.
- Use really cold milk. Cold milk helps the pudding set up thick and fast, so pour it straight from the fridge.
- Fold, don't stir. Gently fold in the whipped topping so you keep all that air in there. That's what gives the filling its light, fluffy texture.
- Don't rush the chill. Give it the full 3 hours (overnight is even better) so it slices clean instead of slumping.
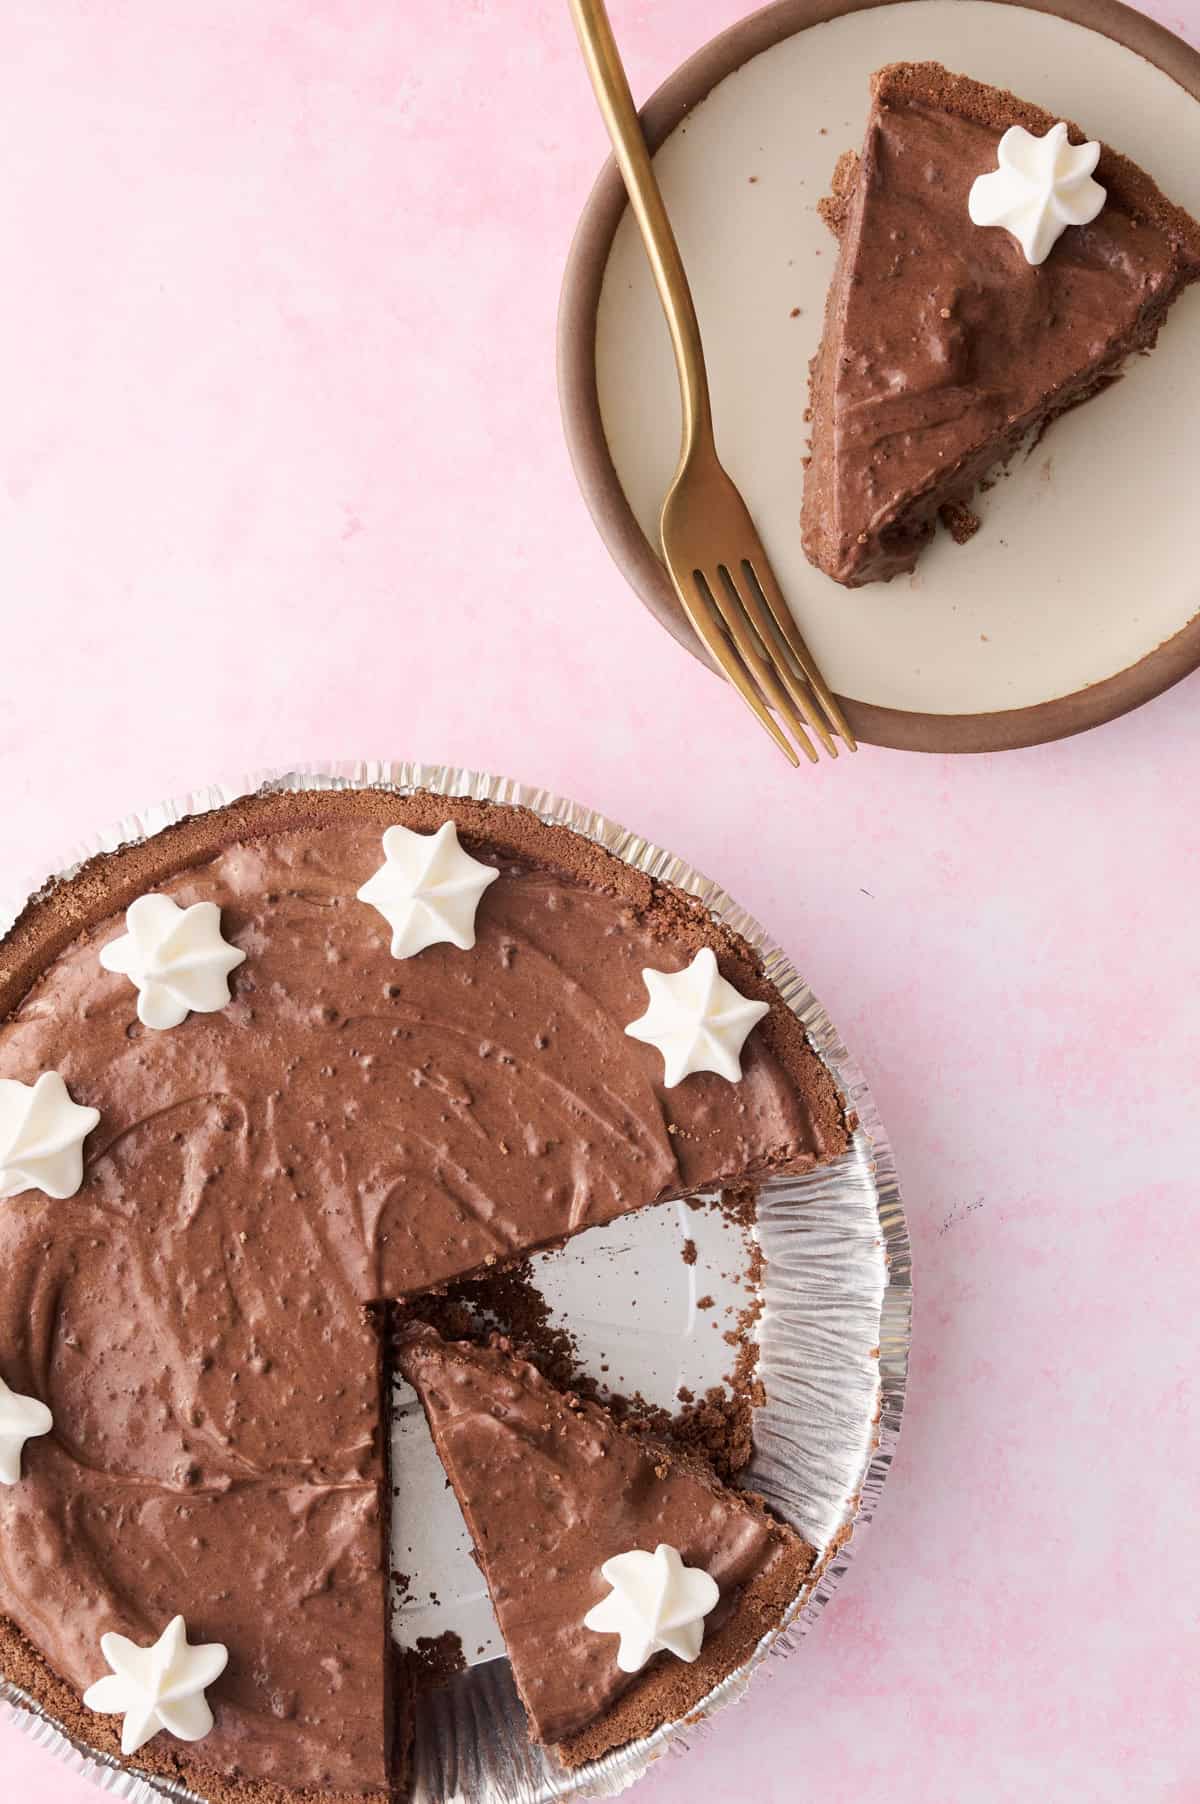
- Dress it up before serving. Add extra whipped topping, chocolate shavings, or mini chocolate chips on top right before you serve for a bakery-style look.

Leave a Reply